Step 1
Position the tray over the desired shower location and mark around the edge of the shower former.

Step 2
Cut into the flooring, taking care not to cut through supporting joists, plumbing, or electrical wiring.

Step 3
Carefully remove the floorboards. Locate the waste outlet pipe. Additional noggins or joists must be fitted along all edges and between joist centres at a maximum spacing of 350mm.

Step 4
The new waste area must be supported with additional noggings 220mm around the waste. Additional noggings or joists must be used on all edges and between joists centres at a minimum of 350mm.

Step 5
Do not cut into the joists. Always drill through when installing the waste drain trap and waste outlet pipe.

Step 6
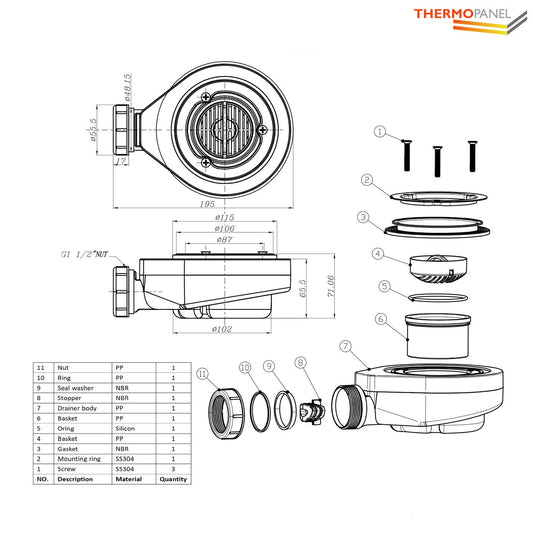
Test the waste drain trap for flow and leaks, ensuring that the rubber seals are correctly in place.

Step 7
Bed the tray onto flexible adhesive on the joists and check that it is level and fully supported on all four sides. The waste clamping ring should now be fitted to secure and seal the waste to the tray. Install the waste trap to the tray; refer to the separate waste instructions. The waste cover should now be secured in place. Re-check that the tray is level and test the tray for efficient water drainage. Vinyl floor coverings or tiles should finish flush with, and up to, the tray as shown below. The flooring should be laid up to the edge of the tray and sealed with silicone sealant. The walls should be covered with a waterproof wall covering and then sealed to the tray with silicone sealant.

-
Thermopanel SMC Slate Effect Shower Tray - Black
Vendor:ThermopanelRegular price From £136.99 GBPRegular price -
Thermopanel SMC Slate Effect Shower Tray - White
Vendor:ThermopanelRegular price From £124.99 GBPRegular price -
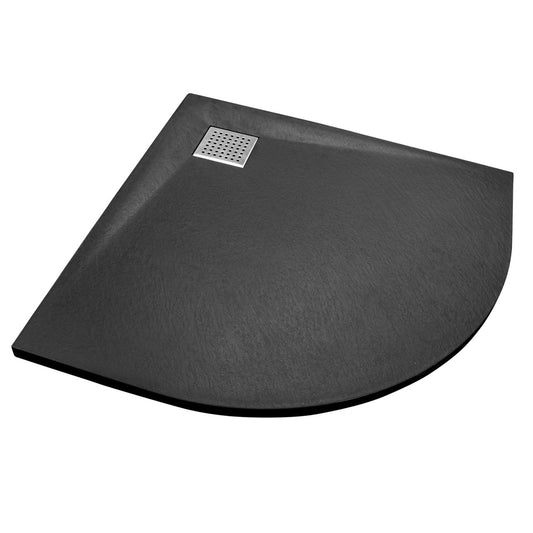
Thermopanel SMC Slate Effect Corner Shower Tray - Black
Vendor:ThermopanelRegular price From £130.99 GBPRegular price -
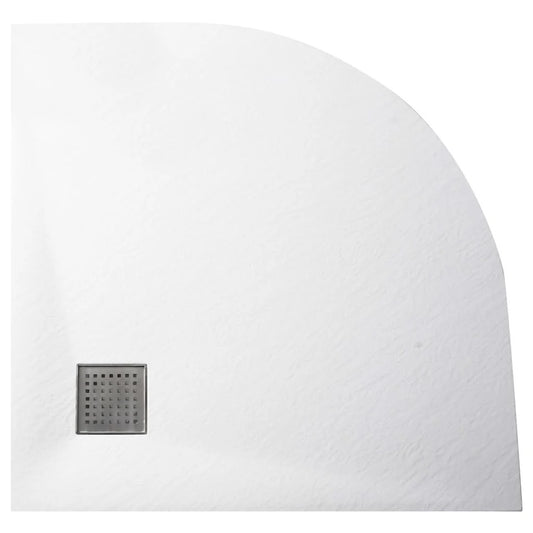
Thermopanel SMC Slate Effect Corner Shower Tray - White
Vendor:ThermopanelRegular price From £124.99 GBPRegular price -
90mm ABS Waste - Thermopanel
Vendor:ThermopanelRegular price £19.99 GBPRegular price -
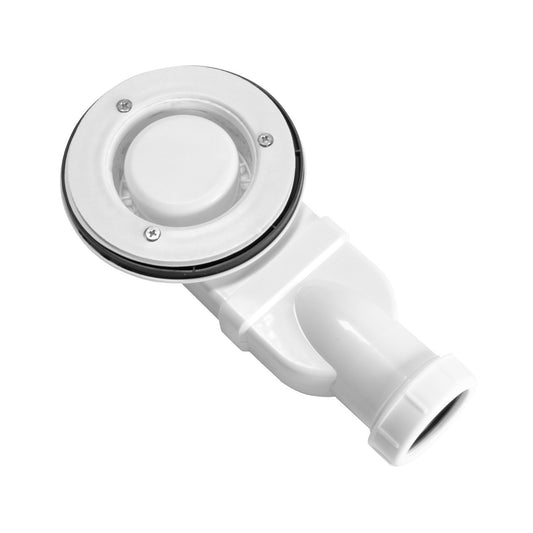
90mm Low Profile ABS Waste - Thermopanel
Vendor:ThermopanelRegular price £19.99 GBPRegular price -
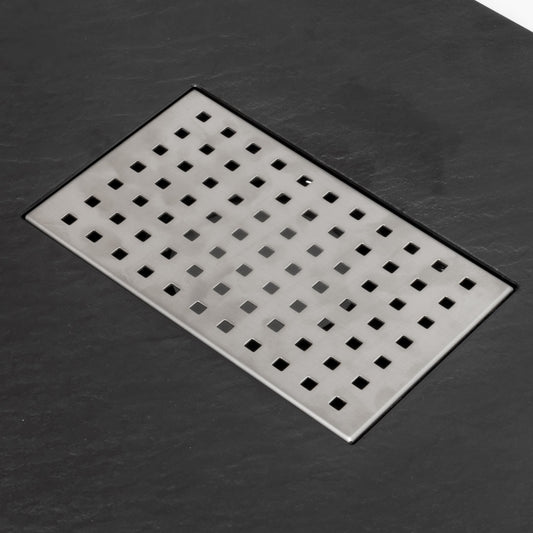
304 Stainless Steel Drain Cover for SMC Shower Trays
Vendor:ThermopanelRegular price £17.99 GBPRegular price -
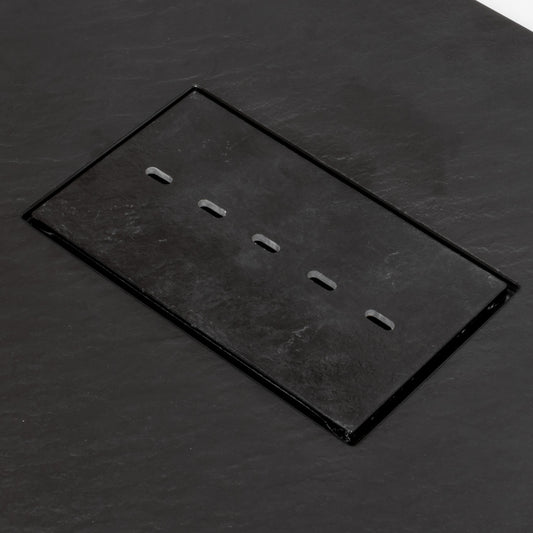
Black SMC Drain Cover with Holes
Vendor:ThermopanelRegular price £14.99 GBPRegular price