Step 1
Position the shower tray in the desired location and mark around it to identify which sections of the floorboards need to be removed so the tray can be recessed properly.

Step 2
Once the floorboards have been removed, measure and mark the position for the drain and waste pipe.
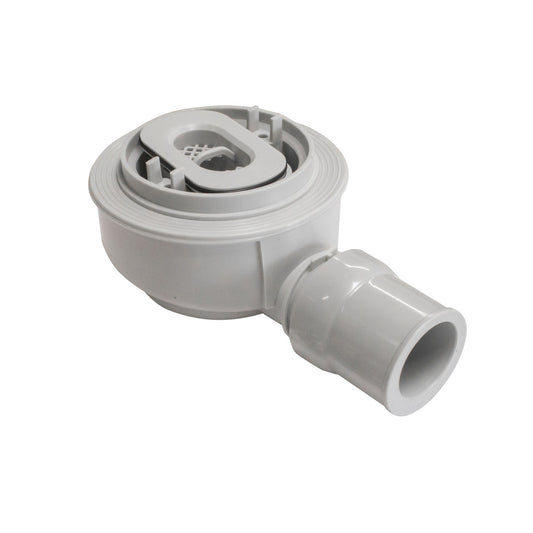
Cut a piece of plywood to support the drain body, ensuring it sits 10mm higher than the waste pipe. Connect the drain body to the waste pipe using solvent weld in the usual way. Always check for leaks before the final installation of the shower tray.
Please note: the drain body must be separated into two parts — the upper section fits to the underside of the former, while the main body is installed into the floor.

Step 3
Fix battens below the top of the joists.

Step 4
Once you are satisfied with the drainage, place plywood around the drain and fix in position.

Step 5
Spread the adhesive evenly over the area where the shower tray is to be installed, being careful to clean away any adhesive on the rim of the trap.

Step 6
Lay down the shower tray onto the adhesive. Ensure that the surface is smooth & level.

Step 7
Seal all wall and floor joints using a waterproof membrane and paste. All corners within the shower area should also be sealed using internal corner membrane pieces and waterproofing paste to ensure a fully watertight installation.

Step 8
Assemble other drain components.

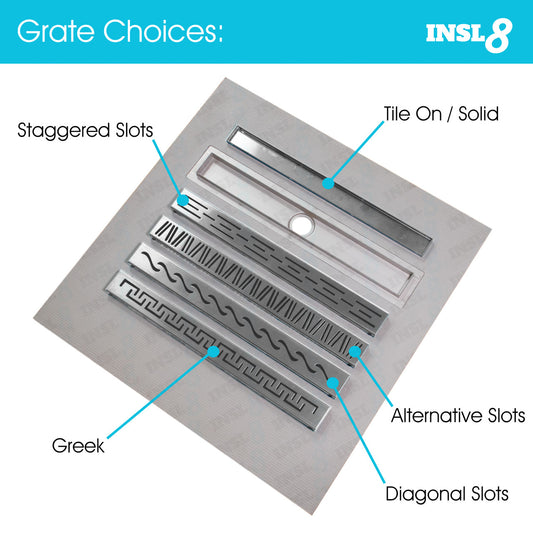
Step 9A
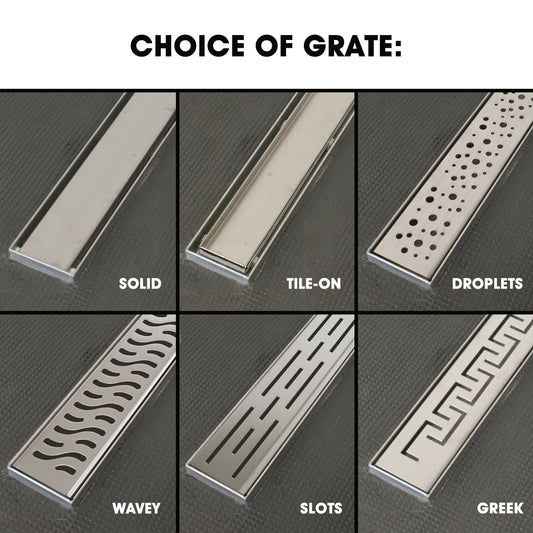
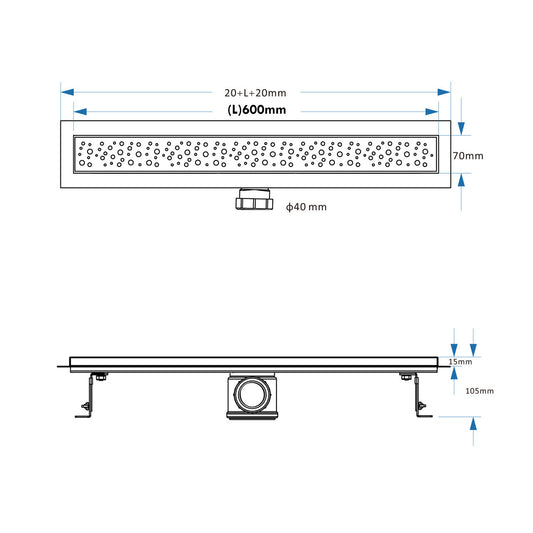
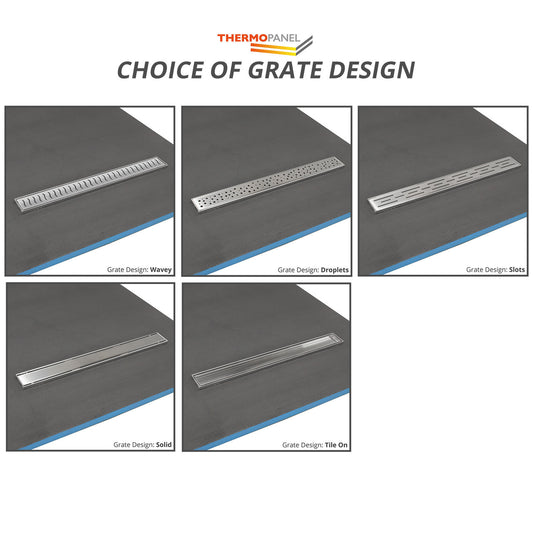
If you are not using a tile-in grate, adjust the height of the stainless steel support using the height adjustment spacers. Each spacer increases the height by 1.5mm. Depending on the number of spacers used, secure the stainless steel support to the tray using either the long or short screws provided.

Step 9B
If you are using a tile-in grate, the height of the stainless steel support can be adjusted using the height adjustment spacers; however, the internal depth of the tile-in grate is fixed at 13mm. Please ensure suitable tile thickness is selected for both the grate and the shower tray.

Step 10
The shower base is now finished and can be tiled.
Installation Diagrams
-

Installation Section Detail for Concrete Floors
-

Installation Section Detail for Wooden Floors


-
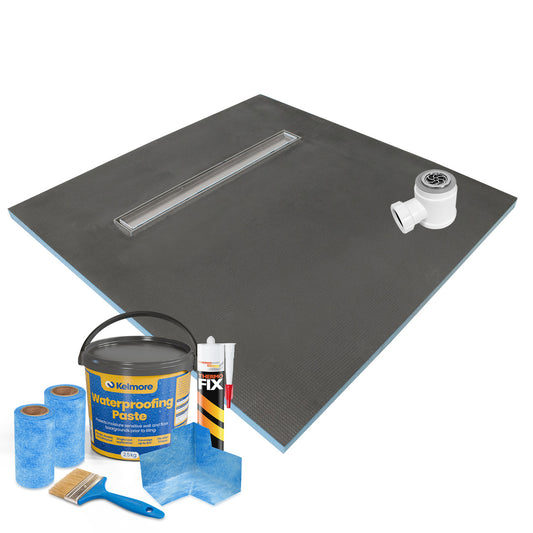
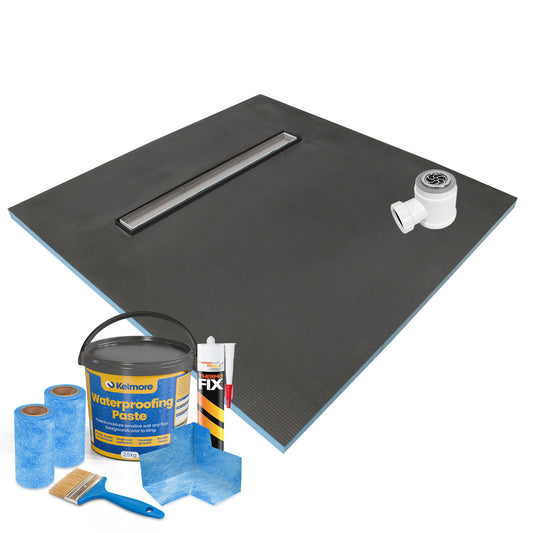
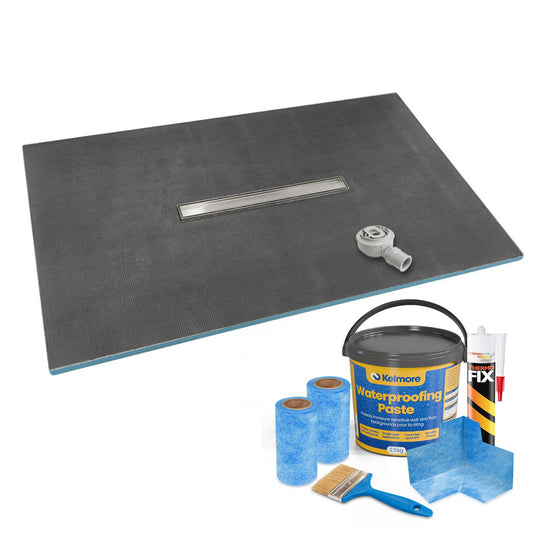
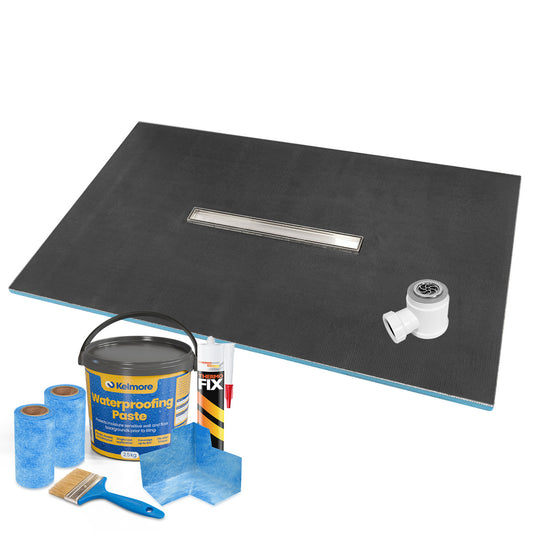
Thermopanel Wetroom Shower Tray Former with Linear Drain Kit
Vendor:ThermopanelRegular price From £141.49 GBPRegular price -
Linear Wet Room Shower Trays (30mm Thickness) - Sirra
Vendor:SirraRegular price From £203.99 GBPRegular price -
Linear Wet Room Shower Trays (20mm Thickness) - Sirra
Vendor:SirraRegular price From £203.99 GBPRegular price -
Thermopanel Wetroom Shower Tray Former with Centre Linear Drain
Vendor:ThermopanelRegular price From £163.49 GBPRegular price -
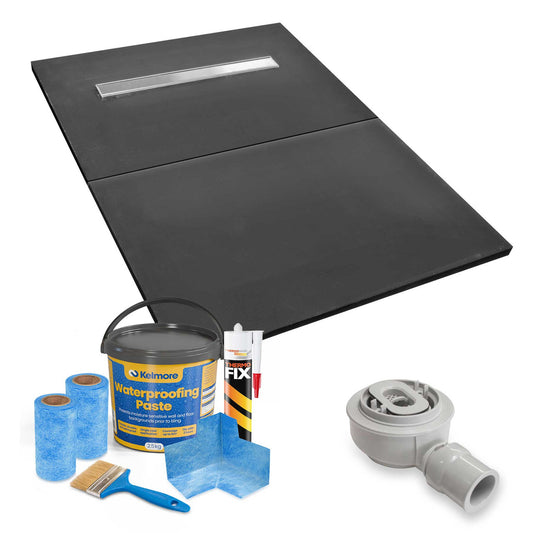
Thermopanel Wetroom Linear Shower Tray (Split)
Vendor:ThermopanelRegular price From £141.49 GBPRegular price -
INSL8 Linear Wet Room Tile On Shower Trays- Stainless Steel
Vendor:INSL8Regular price From £201.49 GBPRegular price -
Linear Wetroom Shower Trays with Longside Drain Position
Vendor:SirraRegular price From £233.99 GBPRegular price -
Linear Wetroom Shower Trays with Centre Drain Position
Vendor:SirraRegular price From £233.99 GBPRegular price