Step 1
Locate Tuffdeck in the corner to which it is going to be finally positioned and mark lines around the outer edge. If cutting to size use a circular saw or jigsaw.

Step 3
Use noggins to support all outer edges of the Tuffdeck as shown above.
IT IS NOT NECESSARY TO USE ADDITIONAL NOGGINS AROUND THE WASTE POSITION.
NOTE: If the floorboards are 18mm thick, 6mm plywood may be required to make the Tuffdeck and floor level before applying the floor covering.

Step 4
Connect the trap body to the outlet pipework and position it between the joists, centrally beneath the hole in the Tuffdeck. Ensure the trap is fully supported underneath.

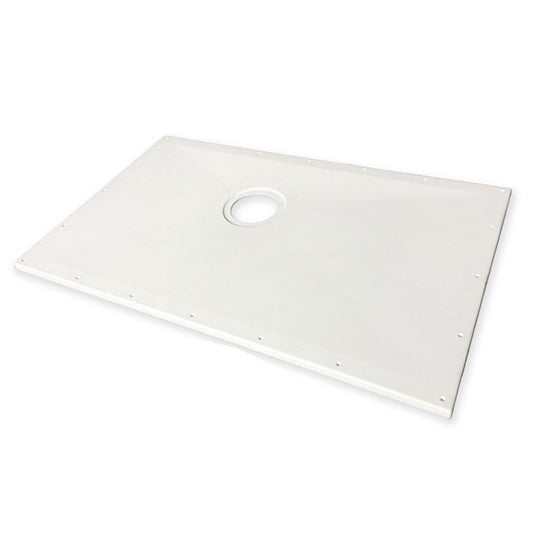
Step 5
Place the Tuffdeck in position.

Step 6
Attach the flange to the trap body using the four bolts provided, ensuring that the rubber seal is in place. Secure the flange to the Tuffdeck using the four countersunk indentations in the flange.

Step 7
Also ensure that the flange on the trap body is level with, or slightly below, the Tuffdeck once it is in the correct position, and that the rubber seal is in place.

Step 8
Ensure that the Tuffdeck is well supported and completely level.

Step 9
Use the longer screws provided to secure the Tuffdeck to the floor joists. Ensure the Tuffdeck is secured along all four edges to eliminate any movement.
IT IS NOT NECESSARY TO PILOT-DRILL THROUGH THE SCREW PORTS.
TIP:
Fill the joint using a resin car body filler or similar product to form a strong bond between the Tuffdeck and the floor.

Step 10
At this stage, you are ready to bond the relevant wall and floor coverings into position.
NOTE:Bond vinyl sheet flooring to the floor using a two-part water-resistant adhesive. All flooring should be installed in accordance with the manufacturer’s guidelines.

Step 11
Once the floor covering has been laid, screw the trap’s clamping ring into position using the bolts provided, ensuring that the inner cup and dip tube can still be removed. Fit the shower traps. Fit the shower trap’s push-on cover plate.
Shop Vinyl Floor Shower Trays
-
ShowerDec® Shower Trays for Vinyl & Tile Floors
Vendor:ContourRegular price From £239.99 GBPRegular price -
Thermopanel Tuffdeck Shower Tray Floor Formers for Vinyl Floors
Vendor:ThermopanelRegular price From £134.99 GBPRegular price