Step 1
Position the Tuffdeck in the corner where it will be permanently installed and mark lines around the outer edge. If cutting to size, use a circular saw or jigsaw.

Step 3
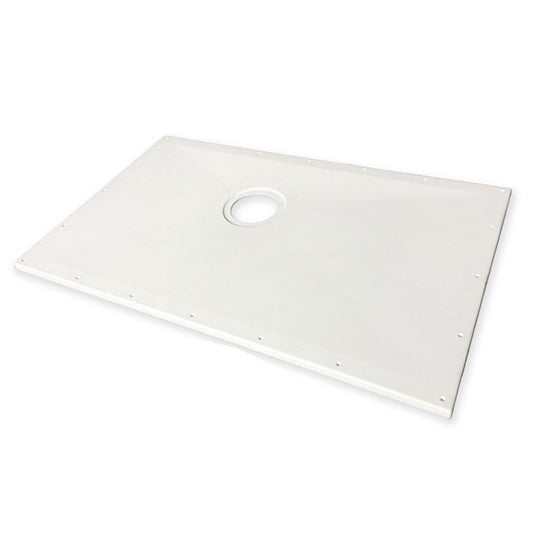
Ensure the Tuffdeck fits neatly into the recess. Mark the shower trap position.

Step 4
Remove the Tuffdeck. Decide on the position of the waste pipe, and knock out a hole in the adjacent wall if required. It will be necessary to excavate an area of sufficient depth beneath the outlet position to accommodate the shower trap. (Approximate trap dimensions: 95mm deep x 110mm wide). The Trap must be fully supported underneath with a self-levelling screed mix.

Step 5 - Method 1
Set the trap body into the floor. Place the trap flange into the Tuffdeck, ensuring it finishes flush with, or just below, the surface onto which the sheet flooring is to be laid. Attach the flange to the trap body using the 4 bolts provided, ensuring the rubber seal is in place. Secure the flange to the Tuffdeck using the four countersunk indentations in the flange. Connect the trap to the waste outlet pipe.

Step 5 - Method 2
Fully assemble the trap to the Tuffdeck (as described above) before placing it in position, also attaching a length of pipework ready for connection to the waste/soil pipe. If you are using a pump, the fitting of the shallower pumped trap is the same as described above.

Step 6
Apply a self-levelling screed mix to cover the entire proposed area. This will ensure that the Tuffdeck is fully supported. CAUTION! Ensure the void around the trap body is also filled. DO NOT rely solely on support beneath the flange.

Step 7
The circular ribbed underside allows the Tuffdeck to settle onto a cement or screed base, eliminating slippage during installation. Carefully place the Tuffdeck into position. Check levels in both directions and gently tap the Tuffdeck down until it is level on all four sides. It may be necessary to add more self-levelling screed. Do this by slightly lifting the Tuffdeck and pouring in the screed.

Step 8
It is important that the Tuffdeck is level on all four sides when fitted and then left to set.
*TIP: Filling the Tuffdeck-to-floor joint and screw recesses using a resin car body filler or similar product will create a strong bond between the Tuffdeck and the bathroom floor, while also preventing indentations from appearing in the floor covering.

Step 9
At this stage, you are ready to bond the relevant wall and floor coverings into position.
*NOTE: Bond vinyl sheet flooring to the floor using a two-part water-resistant adhesive. All flooring should be installed in accordance with the manufacturer’s guidelines.

Step 10
Once the floor covering has been laid, screw the trap clamping ring into position using the bolts provided. Ensure that the inner cup and dip tube can still be removed. Fit the shower trap’s push-on cover plate.
Shop Vinyl Floor Shower Trays
-
ShowerDec® Shower Trays for Vinyl & Tile Floors
Vendor:ContourRegular price From £239.99 GBPRegular price -
Thermopanel Tuffdeck Shower Tray Floor Formers for Vinyl Floors
Vendor:ThermopanelRegular price From £134.99 GBPRegular price